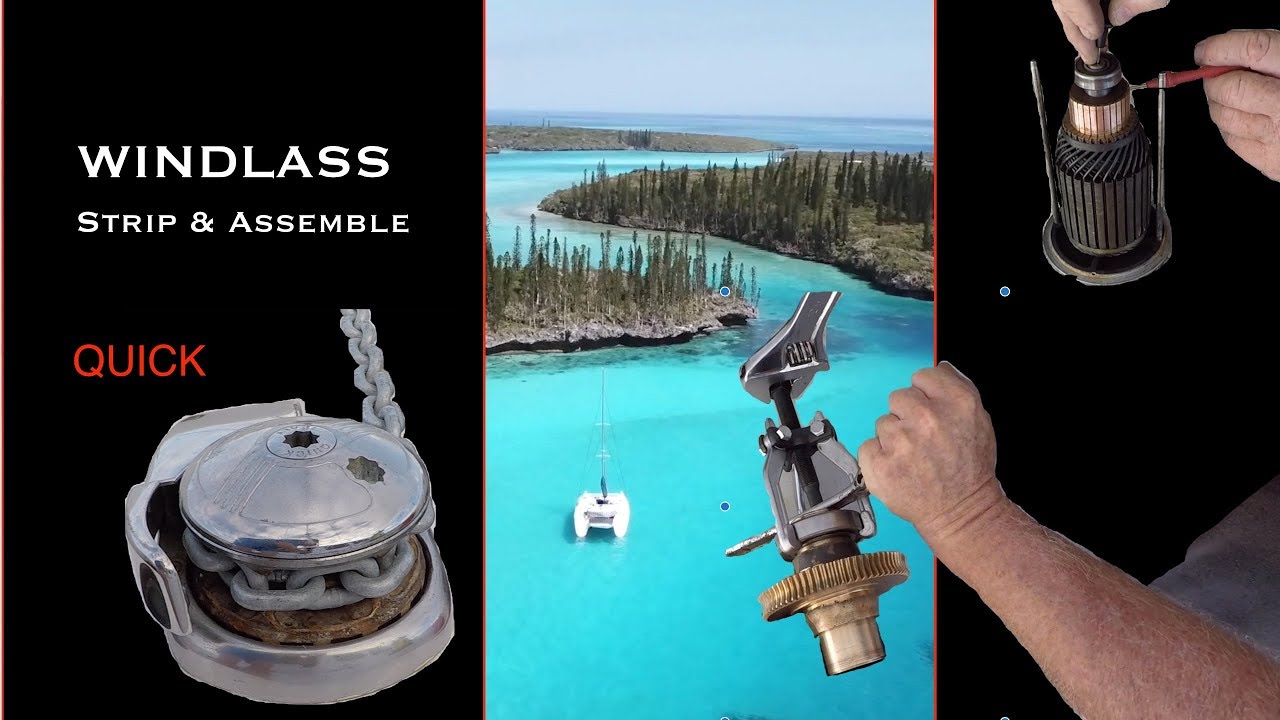
ANCHOR WINDLASS STRIP & ASSEMBLE - Quick Argo entire winch assembly
READ THIS DESCRIPTION FOR BEST OPTIONS:
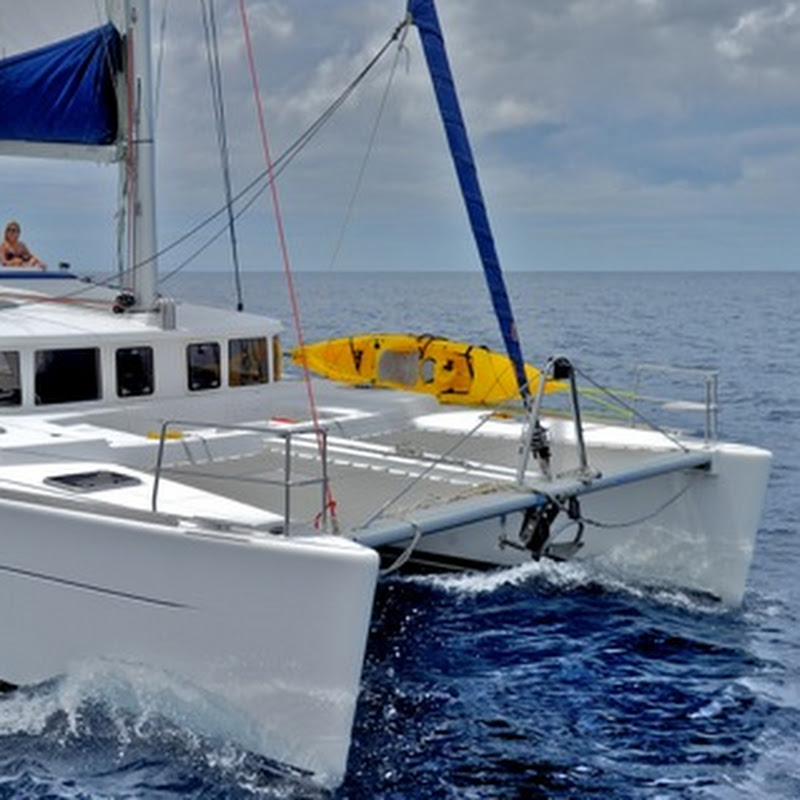
Catamaran Impi is sailing around the world.
For Impi, cruising pleasure comes from doing preventative maintenance projects and this is about our QUICK windlass strip and assemble project with a 10 year old windlass on a boat that sails full time and occupants who live at anchor all over the world.
I am not one to feel passionate about doing technical videos, however, when folks heard I was stripping our windlass to replace bearings and seals, brushes to the motor and more, they asked me to please video the event.
This video is therefore for ordinary sailors like you and me (and not for the expert) – it is how we achieve this with limited means and with limited resources to tools living on our boat.
To Make Viewing And Going To Relevant Sections Of The Video EASIER For You – We Have Time Stamped Under Headings Below:
We Include The Following:
Overhaul Top Section
Overhaul Gearbox
Some Work On The Electric Motor
It includes parts we use as well as how I built a flange that was corroded after the agent said we had to buy an entire new unit and they do not sell the flange separately.
I will try to help out by leaving some time codes here for those who want to only see portions of the work done:
00:00 Brent Chats About The Video Content
1:34 Intro
2:06 Stripping The TOP SECTION (Also 19:37 Seals, Bearings & Shafts. At 26:36 – Assemble Top Section)
2:52 A Discussion About The Housing Base
3:14 How Debris Is Expelled
3:50 Top Flange Corroded Away Due To Seal Damage In Top Shaft
3:54 Hose Off The Chain When Raising Anchor
4:00 Remove The Lower Section (Gear / Reduction box & Motor)
5:05 Removing The Electric Motor & Housing
5:56 Stripping The Gear / Reduction Box
10:10 I Modify / Build My Flange Due To Not Being Sold Separately
11:10 Checking Seal Surfaces etc.
11:24 Using My Puller To Pull Bearings (We Improvise)
12:18 Preparing Surfaces And Installing Bearings
15:02 A Bit About The Worm And Worm Gear
15:38 Fitting Seals And Which Way Around To Install Them
18:51 Installing My Fiberglass Flange
18:56 Installing The Electric Motor
19:37 Top Section Bearings, Circlips, Shaft & Seals
20:28 Social Media MAte Chuck Lanter Has A Stubourn Shaft. he Shows Me A Great Method To Pull The Shaft Upwards Without A Hydraulic Press (Remember To Remove The Top Circlip
20:47 Removing Circlips
20:54 Shaft Is Removed. It Can Also Be Removed By Hammering Upwards On The Botoom Of The Shaft But Be Careful Not To ‘Buldge’ The Bottom Of The Shaft As It will Make For A Difficult Re Assembly
21:12 Removing Circlips
21:23 Empty Top Housing (shows Casing & Outer Circlip groove That Holds The Shaft Bearings In Place)
21:29 Top Shaft Bearings & Circlips Installed
21:48 Installing The Shaft With Bearings To The Top Housing
22:03 Same Above Different method (without Access To A Press)
24:32 Installing Top Shaft Seals
25:22 Getting The Bed Surface Ready For The Top Section
25:50 Top Up With Oil (overfill And Adjust Level After Installed)
25:58 Fitting The Wiring In Place
26:16 Test
26:23 Quick look At The Top & Bottom Section Coming Together
26:27 Chain Counter Wire Holes (Our Set Up Was Wrong – We Do Not Have A Counter)
26:36 Assembling The Top Section
28:27 Some Stuff About The Electric DC Motor (opening it Up Quickly)
29:12 Unlikely To Happen But If You Burn Wiring Due To A Dead Short & Stuck In A Remote Location – You Can Help Yourself Out
30:52 Testing The Armature (30:56 Bar To Ground Test, 31:25 180* Test, 31:57 Bar To Bar Test)
32:15 Stripping the Motor
32:49 Armature Is Removed
33:06 Removing The Brushes (Different Ways To Do This)
35:37 Cleaning The Commutator Sailor Style
36:23 Clean Between Commutator Bars (ALWAYS)
36:53 Brush Set & Instalation
Sometimes I show Things More Than Once To Explain Myself Better
39:53 Sailing South This Week As We Ran From Cyclone OMA
PARTS CROSS REFERENCE:
BRUSH KITS:
CARGO BSX 124
OR
BOSCH Starter Carbon Brush SET 1007014100
FEMSA 13784 – 27
Euro Reference: BSX12
#multihull #multihullsailing #sailingvideos
Catamaran Impi
Hi Everyone - We are a couple who gave it all up to be free of ‘day to day expectations and routines’ we as people grow up to believe is a ‘normal lifestyle’. The sea makes us feel free, so we followed the dream to move home from our farm in South Africa to a sailing vessel, a catamaran we call IMPI - and IMPI has been our floating home covering much of the globe over the past 10 years sailing full time. We are about INSPIRATION AND POSITIVE VIBES and much of what we do and share is about YOU, the viewers - OUR MISSION to interact with you all and make ourselves available to assist you as you make your dream become reality. We share beautiful places, beautiful people, our lifestyle and of course, for sailors, ANIMAL WELFARE, we share a ton of sailing experiences the world over, and we drop tips into many of our videos showing how we read weather at sea,how we navigate safely, how we maintain our boat and more. Please SUBSCRIBE with us - this is all about INTERACTION with YOU
Channel Information:
Social Media Links:
Note of Recognition for Catamaran Impi
At WeBoating.com, we profoundly acknowledge the unwavering dedication that Catamaran Impi and other creators invests in crafting each and every video. Their passion for delivering exceptional content shines through every frame, and it's a labor of love that deserves your attention.
We invite you to watch their captivating videos and actively engage with their content, including their social media links above. Liking, commenting, and sharing their work goes a long way in fueling their creative fire.
We're also inviting you to explore any sponsorships and partnerships highlighted in the video description of "ANCHOR WINDLASS STRIP & ASSEMBLE - Quick Argo entire winch assembly", or directly on YouTube. By considering their offerings or purchasing services and items, you not only support Catamaran Impi but also the brands and collaborators they're associated with.
If you have any feedback, corrections, or additional information about Catamaran Impi or their videos, please use the comment form below to share your thoughts with us.
Thank you for being a part of our community and supporting the creators we cherish. Your time and support truly matter!
Catamaran Impi Lastest Videos
PASSAGE MAKING TO NEW ZEALAND
#multihull #multihullsailing #sailingvideos Sailing to New Zealand can be a worry for many sailors - this is our 2nd trip there from New Caledonia and some social media folks asked me to please share a few details about our passage. We have a number of...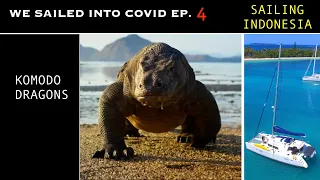
We sailed into covid EP 4 (sailing Indonesia)
EP.4 Impi is a Lagoon 440 catamaran sailing the world . This series is our sail through INDONESIA In this episode we sail from Hoga Island (our previous episode) to KOMODO NATIONAL PARK - we show you some of the islands and we visit FIGHTING Komodo DRA...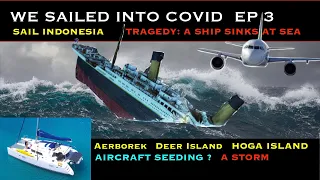
We sailed into covid EP3 (Arborek, Deer Island, Hoga Island), Aircraft Chemtrails, Sinking Ships …
Hi Everyone - In this episode Impi continues exploring Indonesia. We depart the beautiful islands of Raja Ampat for Hoga Island in the Wakatobi Regency. Our departure is from the amazingly beautiful and arty island of Arborek in Raja Ampat and means we h...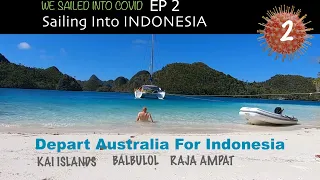
WE SAILED INTO COVID EP 2 (SAIL TO INDONESIA FROM AUSTRALIA)
Hi Everyone - IN this episode we sail from Australia into INDONESIA - the KAI islands, BALBULOL, RAJA AMPAT - we sail there out of season and having broken away from the Indonesian rally group. This footage is before COVID hit us all and it's shared as so...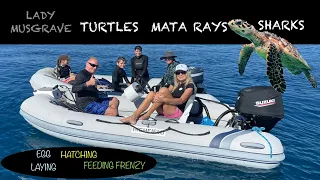
TURTLES, SHARKS & MANTA RAYS – LADY MUSGRAVE
SAILING, DIVING, DISCOVERING is a great part of what we do with our lives. TURTLES LAY EGGS whilst HATCHLINGS HATCH and dash for beach hoping to escape seagulls and crabs that would make a meal of them. By the time the little ones manage to reach the wate...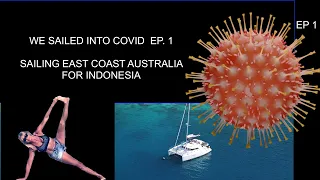
WE SAILED INTO COVID EP 1
#multihull #multihullsailing #sailingvideos WE SAILED INTO COVID EP1 SAILING EAST COAST AUSTRALIA FOR INDONESIA Following our stories’ told to other sailors in the sailing community about our time in Indonesia pre covid, the relationships formed in the...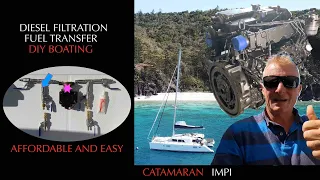
POLISH FUEL, TRANSFER & TREAT FUEL on IMPI
Polishing fuel, transferring fuel and treating fuel is important on boats. It's especially important when visiting countries such as Indonesia where one should have the ability to polish and treat diesel fuel. NOTE: We are NOT SPONSORED by anyone for any ...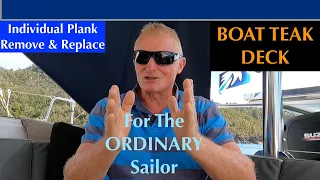
Teak Deck Repairs : Individual Plank replacement within a deck
Hi Everyone. This video shows how an ordinary sailor dude who is not a carpenter replaces individual teak planks within an existing teak deck on our catamaran. Some wood sections wear differently to others over time and I wanted to replace these as oppose...
Light Weight Catamarans verses Production Catamarans – La Vagabonde Response
La Vagabonde "Riley' presents some interesting facts about sailing catamarans @Sailing La Vagabonde - The Bruce Factor etc. Later in the video he asks Impi if we would make a comment based on our experiences of sailing all these years and many miles on a L...
SAILED an EXTREME 40 (BACK IN BLACK) after a tough COVID passage
#multihull #multihullsailing #sailingvideos After a TOUGH passage running from COVID-19 we entered Australia (CAIRNS) from West Sumatra - some 5000nm with half of it up wind. In Australia we've been shown the amazing and typical Australian hospitality wh...
Ep 3 Sailing INDONESIA Raja Ampat
Catamaran IMPI is sailing around the world. In this series we are sailing in INDONESIA - It's OUT OF SEASON for sailing RAJA AMAPT but we are LOVING IT !!! We share some of our dives - Insanely beautiful, a stunning 'hide away marina' (I say so because ver...
Ep.2 SAILING INDONESIA – To Raja Ampat – BALBULOL in Misool we sailed into some tricky weather.
A tale of a catamaran sailing north on the SE Monsoon to Raja Ampat & Papua. It includes some heavy weather sailing in the Ceram Sea and highlights the beautiful surroundings of some of the most beautiful anchorages we've encountered like Balbulol in M...
Ep1. INDONESIA – WOW WELCOME CEREMONY – DEBUT – KAI ISLANDS
WOW, WOW, WOW - OUR BIGGEST WELCOME EVER !!!! DEBUT - K A I I S L A N D S Catamaran IMPI has been sailing around the world - some 8 years full time now and in all this time we have never received as great a welcome into any country as right here in t...
ANCHOR WINDLASS STRIP & ASSEMBLE – Quick Argo entire winch assembly
READ THIS DESCRIPTION FOR BEST OPTIONS: Catamaran Impi is sailing around the world. For Impi, cruising pleasure comes from doing preventative maintenance projects and this is about our QUICK windlass strip and assemble project with a 10 year old windlass...
EP 6 SAILING IN TASMANIA – St Helens Treacherous Entry
IMPI is sailing the world (Some 7 years full time now) - and in this series we are sailing in Tasmania - located in the Roaring 40's. St Helens is a small and quaint little town but getting in there by boat can be treacherous. A number of boats have come ...
EP 5 SAILING IN TASMANIA – Fortescue Bay, Canoe Bay, Hen & Chicken, Mariah Island, Wineglass Bay
Impi is sailing around the world - this is our 7th year of full time sailing on our catamaran, a Lagoon 440 This video series will be more of interest to those who enjoy sailing in different destinations and not for general tourism purposes. In Episode 5...
S A I L to P A R A D I S E (short movie list) New Caledonia / Oro & Gadji
Hi E V E R Y O N E ! This is one of our short R E A L T I M E movies showing recent events. In this video we share our experiences in this week - all footage was taken this week. We sail the M A J E S T I C waters of N E W C A L E D O N I A and are joine...
CATAMARAN IMPI TODAY – Mato Isand – New Caledonia
For all our friends asking for an up to date video share - this is one for the 'short video playlist' sharing a beautiful 'Thanksgiving day' with you all. Music Credit: Beautiful Day by Nuriel https://www.youtube.com/watch?v=97eiMZlmOTE Official Website ...
SAILING THE LOYALTY ISLANDS – ANIMAL WELFARE – OUVEA NEW CAL
OPERATION DOG: We sail to the LOYALTY ISLAND called Ouvea where our followers have helped sponsor the DOG STERILIZATION PROGRAM. Guy Kane, the flying vet has loaded all his gear onto our beloved catamaran called IMPI and we become a mobile home, storage f...
EP. 4 SAILING IN TASMANIA – Hobart, A Wall Of Vaginas, Cape Raoul And Port Arthur
Impi is a catamaran sailing around the world. In this episode we are sailing in Tasmania where our daughter Jenna flies in to join us. We show you some of Hobart We visit the famous Mona Museum where locals speak of the 'Wall Of Vagina's' We sail around th...
WILD FUN SAILING WITH A PRODUCTION CATAMARAN
Sharing recent events, our son Terry and Yolande visit Impi. We have STRONG WIND and we need to get Terry to the airport, so we are going to put our Lagoon 440 catamaran (IMPI) through it's paces. If anyone tells you that production cats are not fun to sai...
EP 3 Sailing Tasmania – HOBART ARRIVAL
Impi is a Catamaran sailing around the world - we have been sailing full time for 7, going on 8 years now. In this episode EP.3 Sailing Tasmania (NOT to be confused with Ep.1, 2, and 3 of our Sailing For The Roaring 40's series), we sail up the Derwant Riv...
EP2. SAILING TASMANIA – Dunalley / Denison canal and Taranna
Hi folks - This is EP. 2 Sailing in Tasmania. In this series, we sail for Hobart to collect our daughter who is flying in from South Africa to sail with us. Since we have sailed down the east coast of Tasmania, we decide to opt for a short cut through the...
EP1. Sailing Tasmania – Freycinet
#Multihull #Sailing #Tasmania #Freycinet #BassStrait #BassStraight Catamaran Impi is sailing around the world - Brent and Ana have been sailing together full time for the past 7 years. In this series - Sailing Tasmania, we have dropped into the roaring 40'...
Something AWESOME is coming!
Be the FIRST to know⛵
Sign up for exclusive updates and be the first to hear when we go live!
Get sneak peeks, exciting announcement, and special content straight to your inbox!
We don’t spam! Read our privacy policy for more info.
